Shader-based Transitions
In Unlock Everything I utilized a snazzy diamond-based screen transition effect that looks like this:
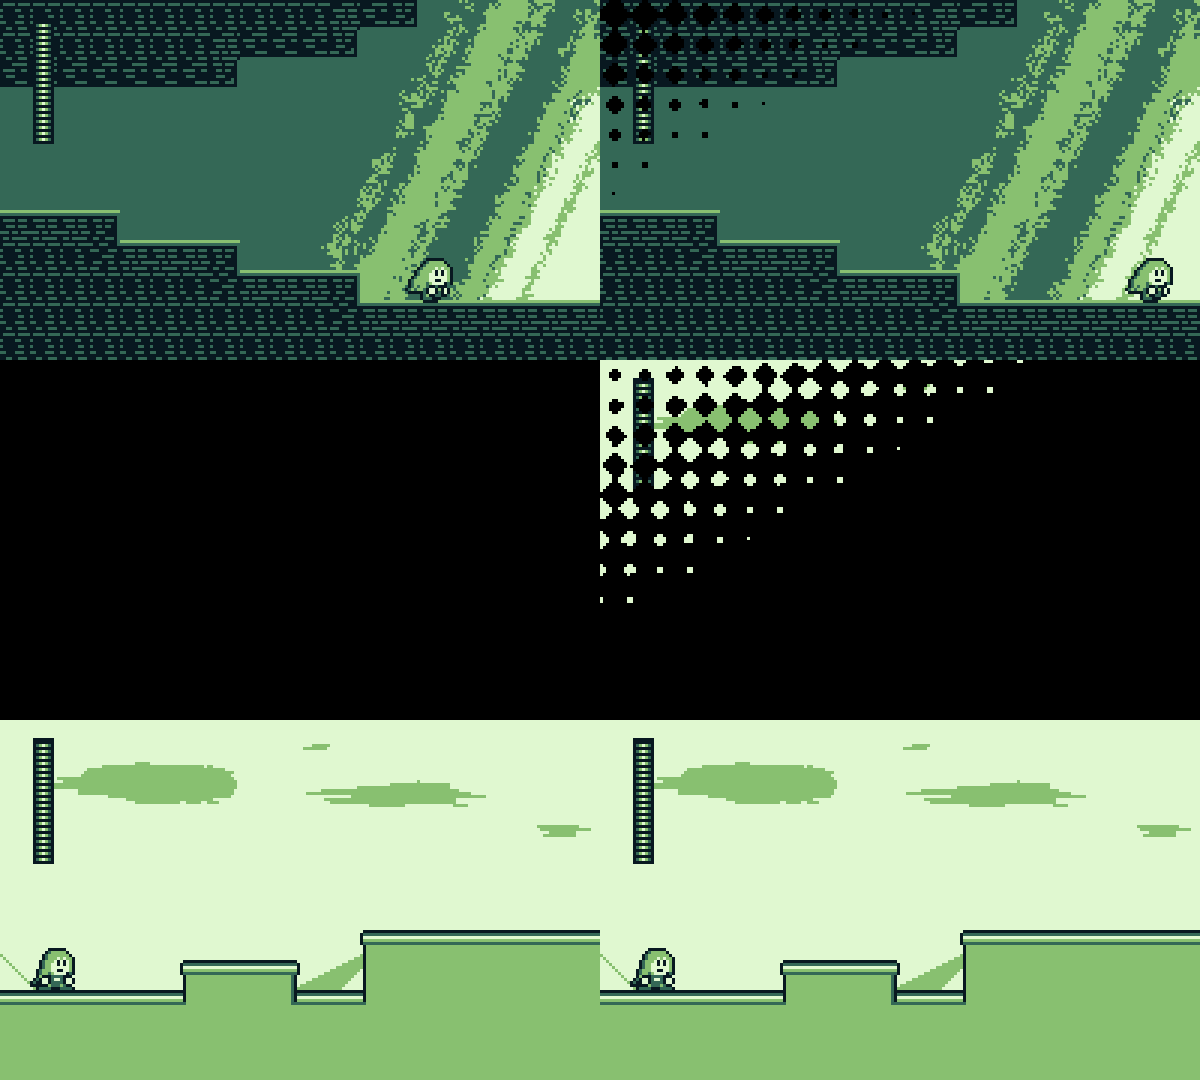
Screen transitions are an important part of making your game look polished! In all of my previous games I've used simple fade-to-black transitions, but I wanted to try a fancier effect this time.
Transitions based on diamond shapes are actually pretty common among games, particularly with an 8-bit or 16-bit aesthetic. Some examples you may be familiar with include Tower of Heaven, Pause Ahead, and A Kitty Dream:
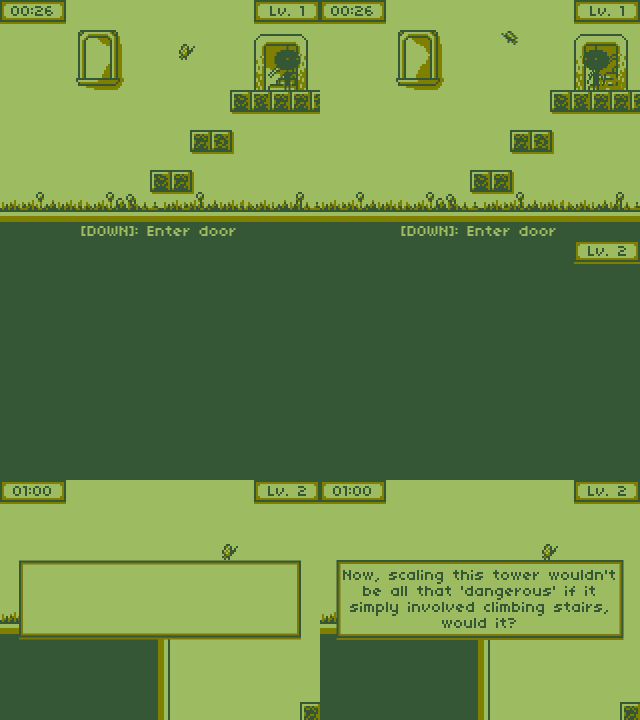
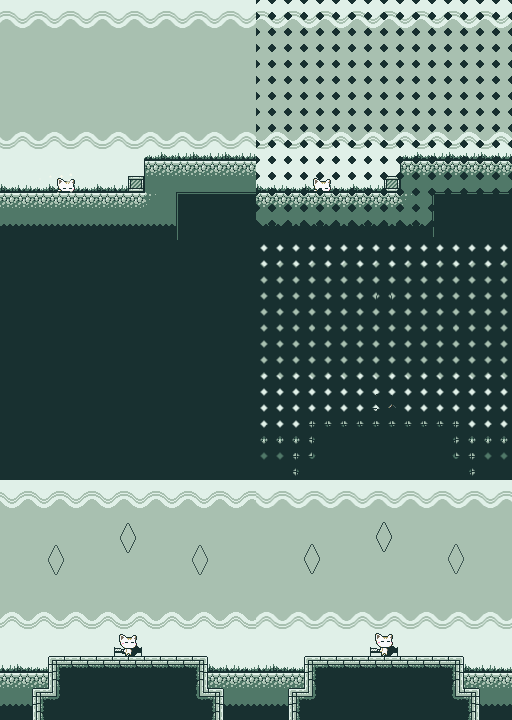
I was inspired by these games to try my hand at making a similar effect. I think the end result really adds to the sense of polish that you get, even when first booting up the game.
Setting up the scene
The main method of implementing this kind of screen-transition effect is to use a pixel/fragment shader. If you're not familiar, a pixel shader can be thought of as a small GPU subprogram that is used to determine the final color values to write to the screen. In 3D graphics these are generally used for lighting and shading effects, hence the name "shader".
In this, though, case we'll be applying the pixel shader to a black rectangle drawn on top of the entire screen. The shader's job will be to take the coordinates of each pixel in the black rectangle and decide whether to actually render that pixel, or simply discard it (allowing the scene underneath to show).
The details of how to do this vary from game engine to game engine, but here in Godot I did this by creating a new CanvasLayer and attaching a fullscreen ColorRect to it. We can then apply a Material to the ColorRect and add our custom shader:
- CanvasLayer <- Make sure you set "layer" high enough to draw on top of everything else
   - ColorRect <- Under "CanvasItem" apply a new Material, with a new Shader
- [Your actual scene]
- ...
Setting up the Shader
Shaders can be intimidating to write at first, especially if you're new to GLSL-type languages. Luckily, the shader we need to write isn't super complicated. Here's the basic structure with some comments to explain what is going on:
shader_type canvas_item;

void fragment() {
    // We need to fill in this function!
    // Here, FRAGCOORD.xy gives us the screen coordinates of the current pixel
    // (ranging from 0 to screenwidth/screenheight).
    // UV.xy gives us the same thing, but normalized to 0-1.

    // We need to fill in this logic.
    if (??????) {

        // Tells the shader to not render this pixel.
        discard;
    }
}
Note that Godot uses its own shading language that is similar to but not exactly the same as GLSL.
For the actual logic inside the fragment shader, you can reference various websites such as GLTransitions for ideas on how to implement the desired transition. In this case, the "PolkaDotsCurtain" effect seemed to be pretty close to what I wanted:

Let's define two uniform float values -- one for the progress of the transition itself and another one to define the diamond grid size. These are values that we pass into our shader in order to control it.
// An input into the shader from our game code.
// Ranges from 0 to 1 over the course of the transition.
// We use this to actually animate the shader.
uniform float progress : hint_range(0, 1);

// Size of each diamond, in pixels.
uniform float diamondPixelSize = 10f;
Dividing the Screen
Let's divide the entire screen into grids based on our diamond size. We do this by dividing our screen coordinate by the diamond size and then taking the remainder using fract.
void fragment() {
    float xFraction = fract(FRAGCOORD.x / diamondPixelSize);
    float yFraction = fract(FRAGCOORD.y / diamondPixelSize);
    ...
}
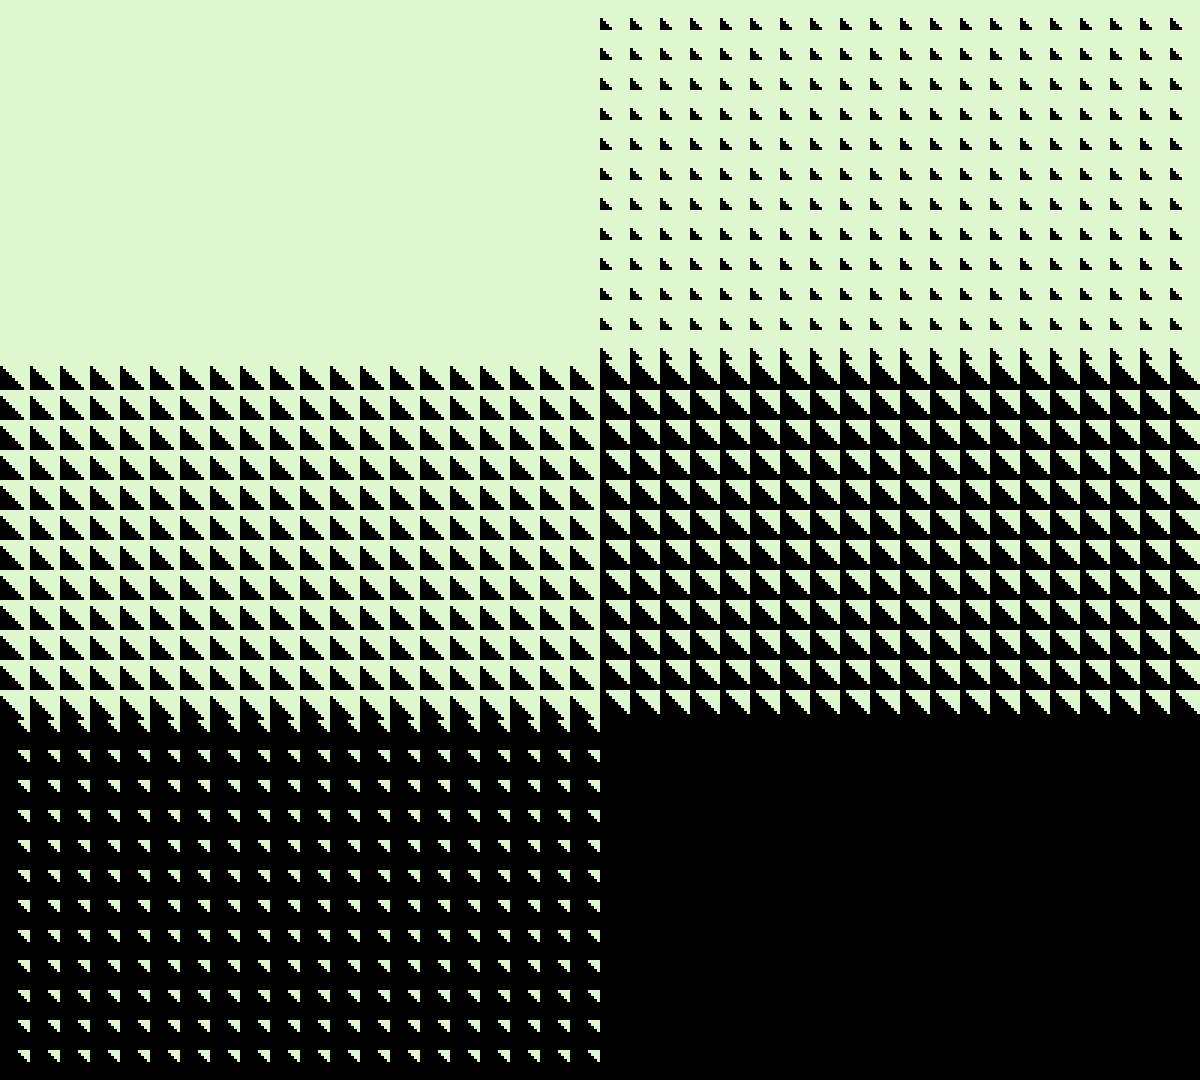
If we add xFraction to yFraction we get a result that ranges from 0 to 2 based on the coordinate of the pixel. We can compare this to progress * 2f to get an animation:
void fragment() {
    float xFraction = fract(FRAGCOORD.x / diamondPixelSize);
    float yFraction = fract(FRAGCOORD.y / diamondPixelSize);
    if (xFraction + yFraction > progress * 2f) {
        discard;
    }
}
Here's the result when we slowly increase progress from 0 to 1:
Forming Diamonds
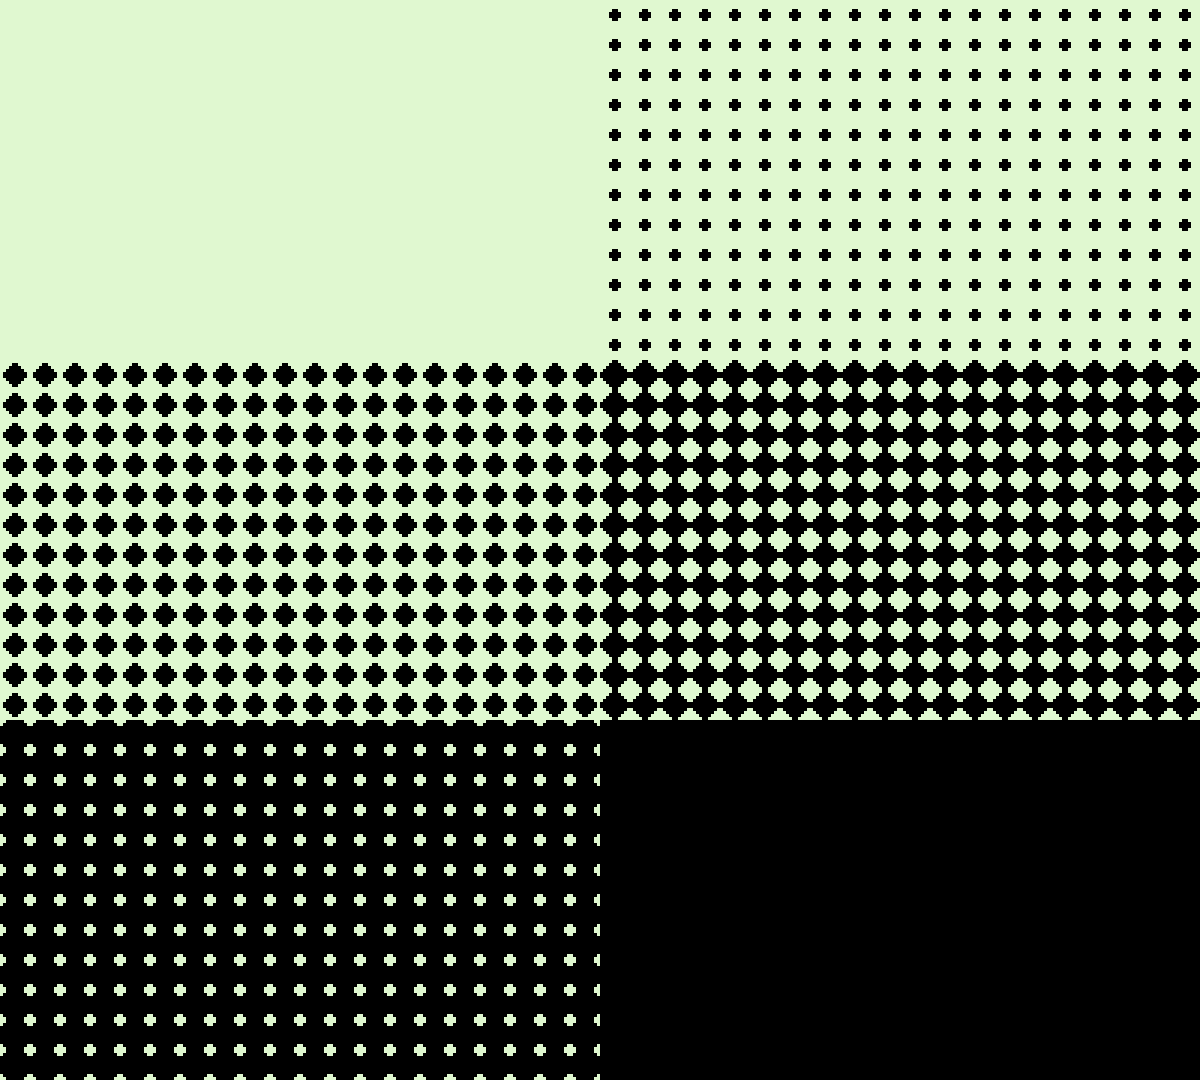
Just as we can form a circle by taking all points within a given radius, we can form a diamond shape by taking all points within a given manhattan distance (x distance + y distance):
void fragment() {
    float xFraction = fract(FRAGCOORD.x / diamondPixelSize);
    float yFraction = fract(FRAGCOORD.y / diamondPixelSize);

    float xDistance = abs(xFraction - 0.5);
    float yDistance = abs(yFraction - 0.5);

    if (xDistance + yDistance > progress * 2f) {
        discard;
    }
}
Sweeping Across the Screen
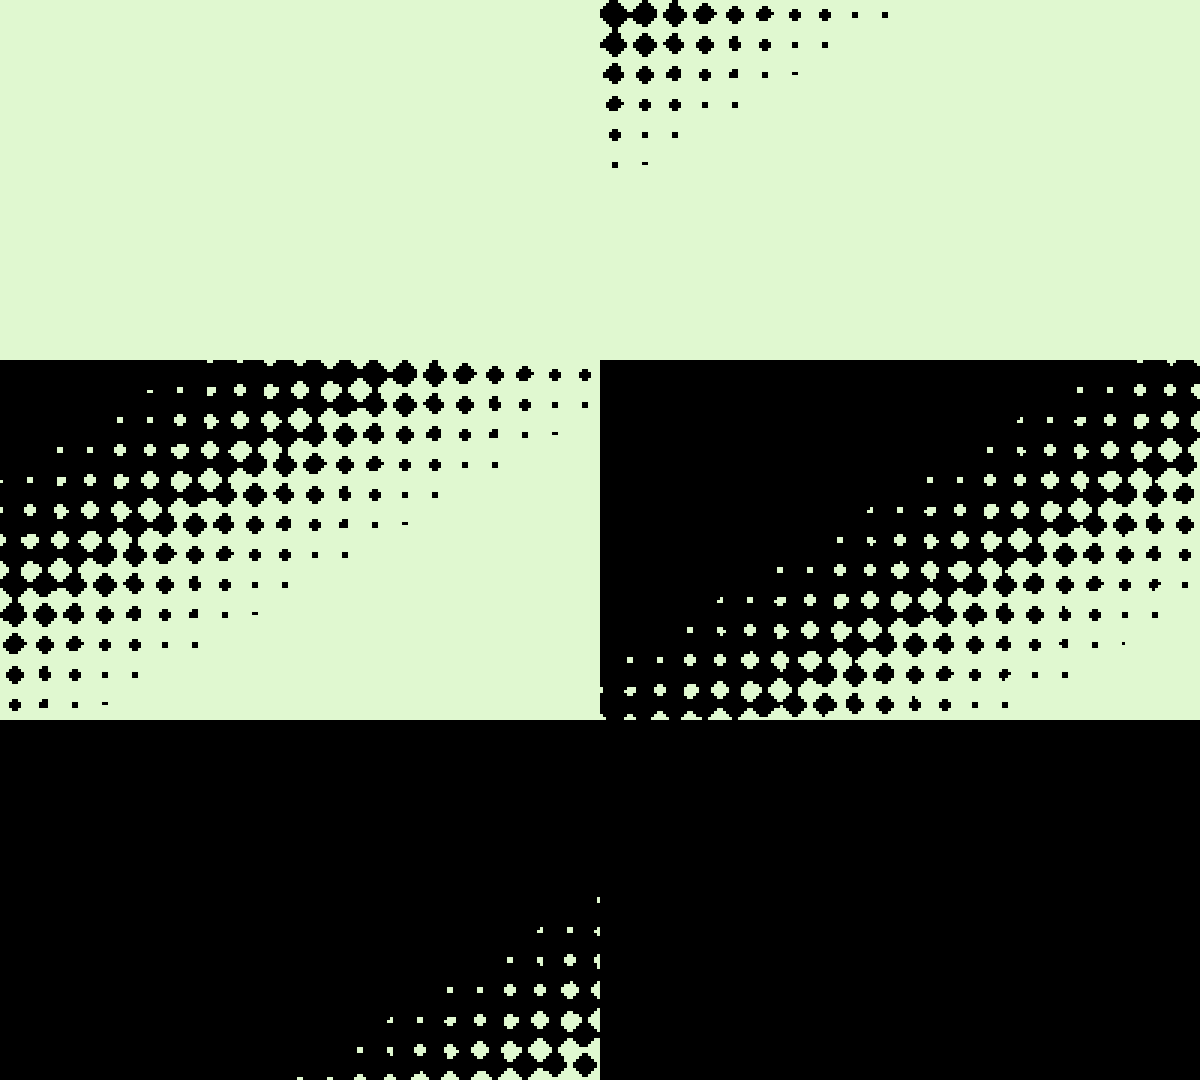
To get the sweeping effect across the screen, we need to modify the test for each diamond based on where we are in the screen. We could just use FRAGCOORD for this, but it's probably easier to use the normalized UV instead to make it easier to deal with different screen resolutions.
If we add UV.x and UV.y into our test, it should offset the progress of the transition across the screen. Note that both UV.x and UV.y range from 0-1, so we need to modify the multiplier that we're using on the right side accordingly.
void fragment() {
    float xFraction = fract(FRAGCOORD.x / diamondPixelSize);
    float yFraction = fract(FRAGCOORD.y / diamondPixelSize);

    float xDistance = abs(xFraction - 0.5);
    float yDistance = abs(yFraction - 0.5);

    if (xDistance + yDistance + UV.x + UV.y > progress * 4f) {
        discard;
    }
}
Here's what we get as our final result!
Remaining Work
That's essentially how this effect is implemented! There are a couple of things I didn't go over, such as:
- How to smoothly transition progress from 0 to 1 using some kind of tween (depends on your game framework)
- Reversing the transition direction to fade back in by adding another uniform to your shader
- ...
I leave these extra bits as an exercise for the reader.